

A Beginner's Guide to Setting Up Managed Kubernetes Cluster on Azure (AKS) Portal 🌐
Azure Kubernetes Service (AKS) is a managed Kubernetes service that lets you quickly deploy and manage clusters.


Introduction 🕵️♂️
Welcome to the exciting world of Kubernetes on Azure! In this step-by-step guide, we'll demystify the process of setting up Kubernetes on Azure Kubernetes Service (AKS).
Pre-Requisite 🛠️
Azure Account (https://azure.microsoft.com/en-in/free)
Active Subscription
Azure Basics
Azure Cloud Shell (https://learn.microsoft.com/en-us/cli/azure/install-azure-cli)
Step 1: AKS Creation 🌟
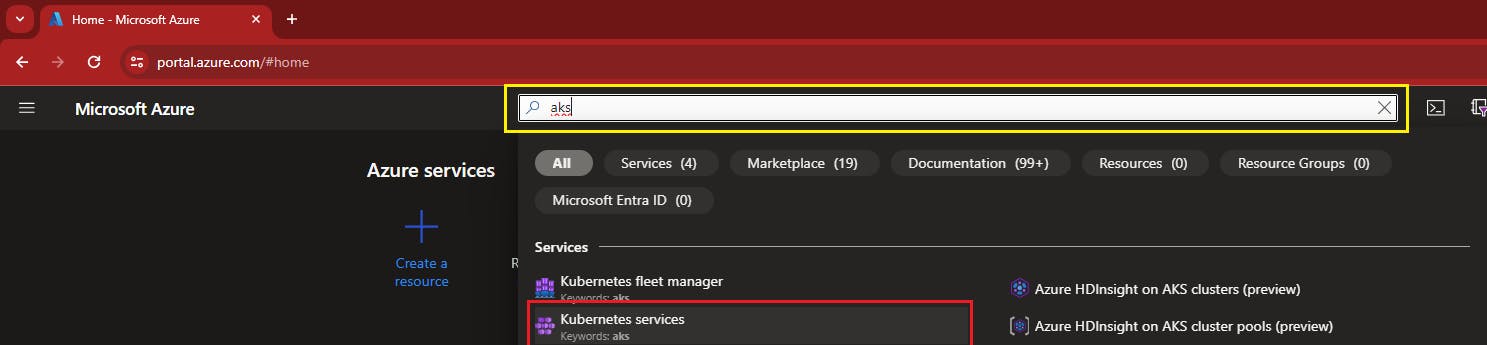
Once you're in the Azure portal, Search for "Kubernetes Service" and select "Kubernetes Service (AKS)" from the list.
Click "Create" and fill in the required fields. Don't worry; Azure guides you with tooltips.
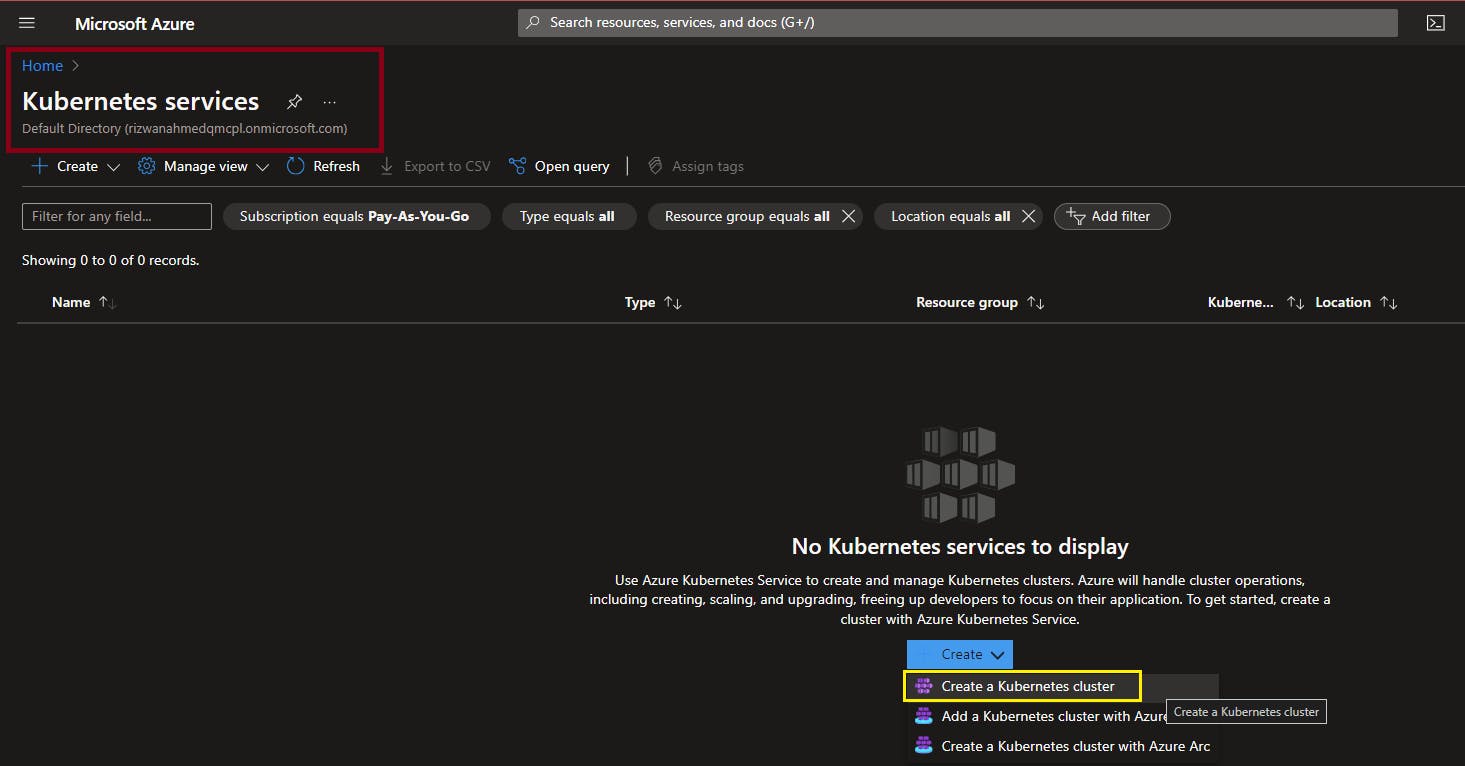
Choose your subscription, resource group, and provide an appropriate cluster name.

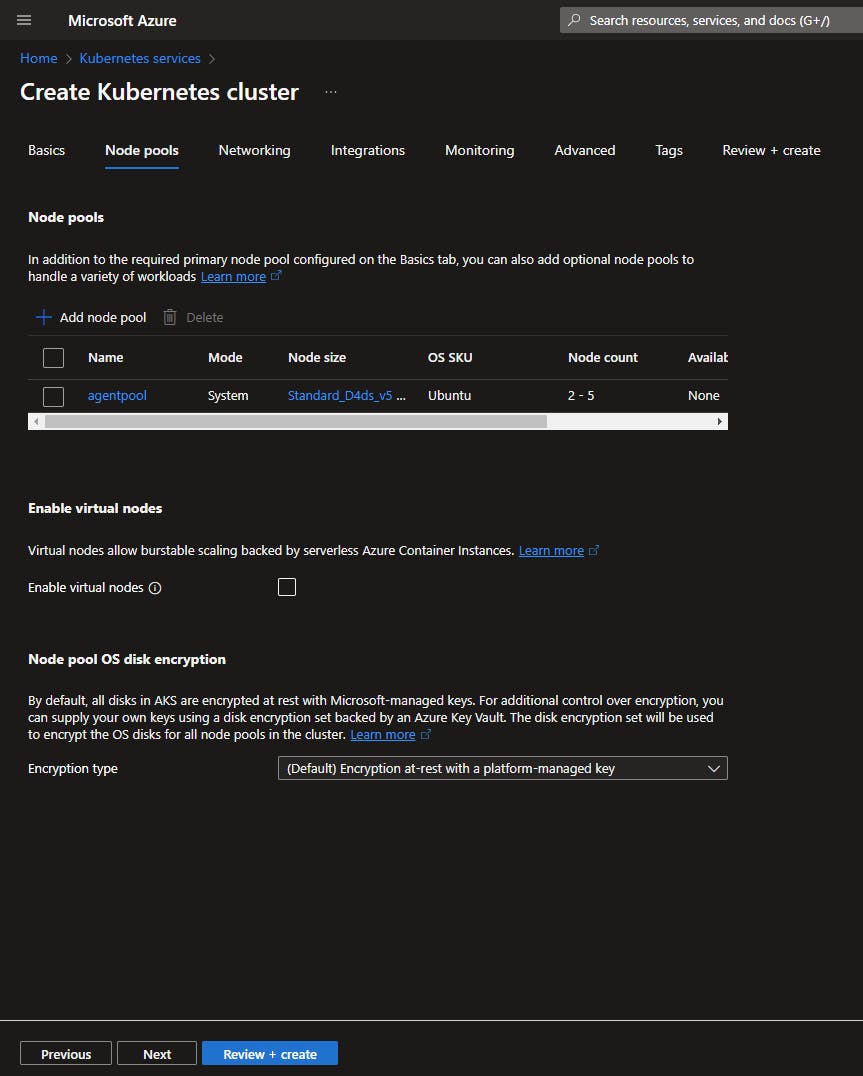
Select Next. On the Node pools tab, leave the default as it is (as it is just a beginner's guide)
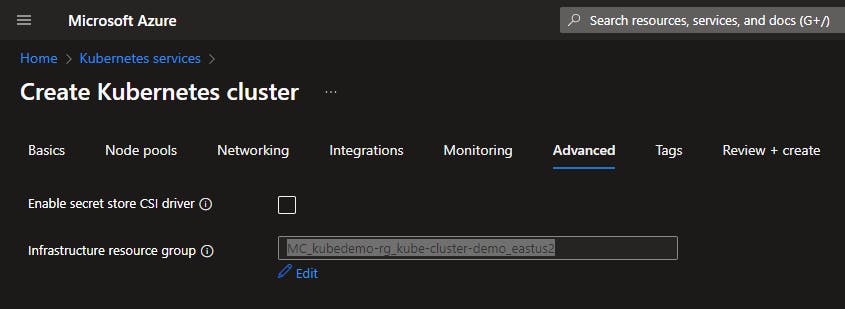
Lave all settings on the other tabs set to their defaults.
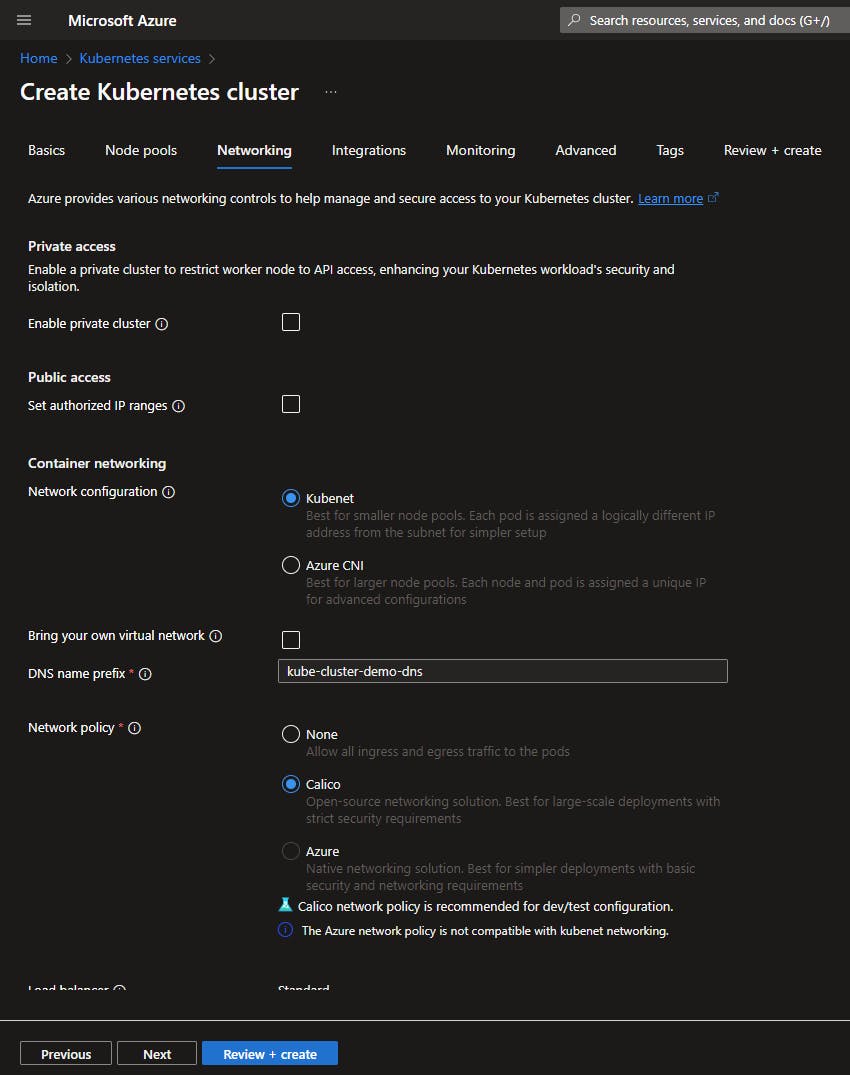
Lave all settings on the other tabs set to their defaults.
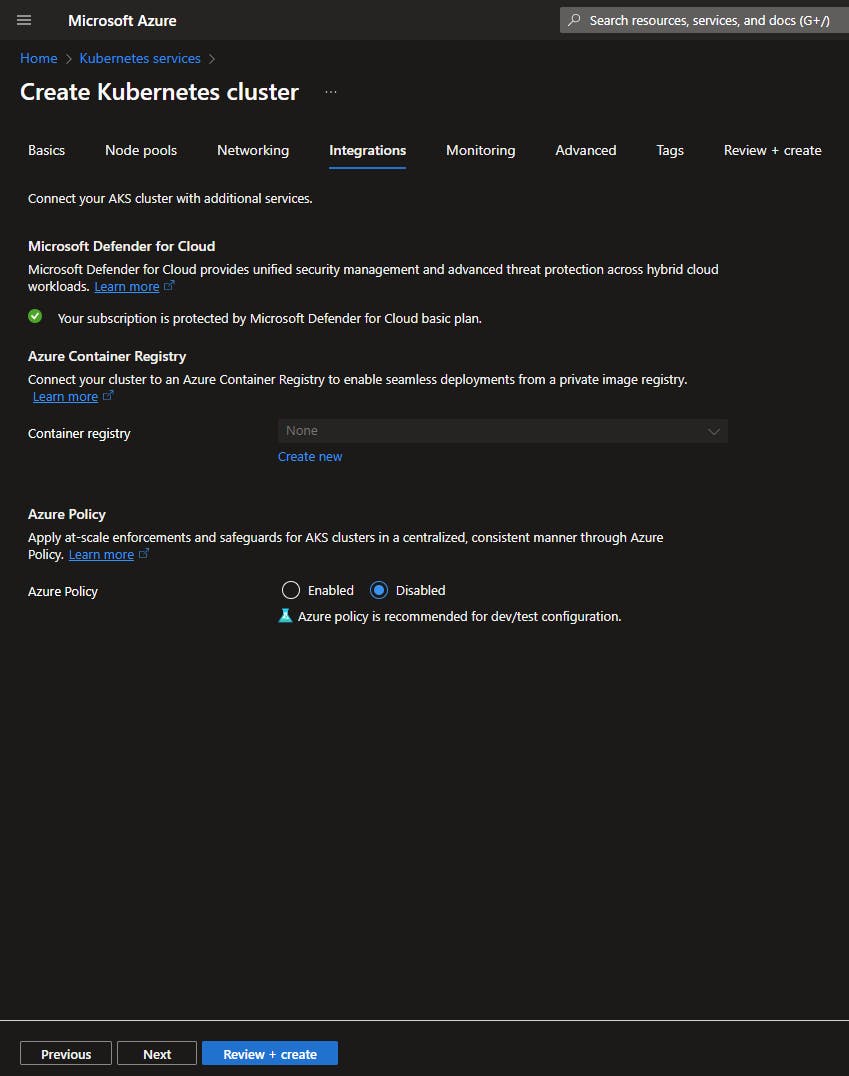

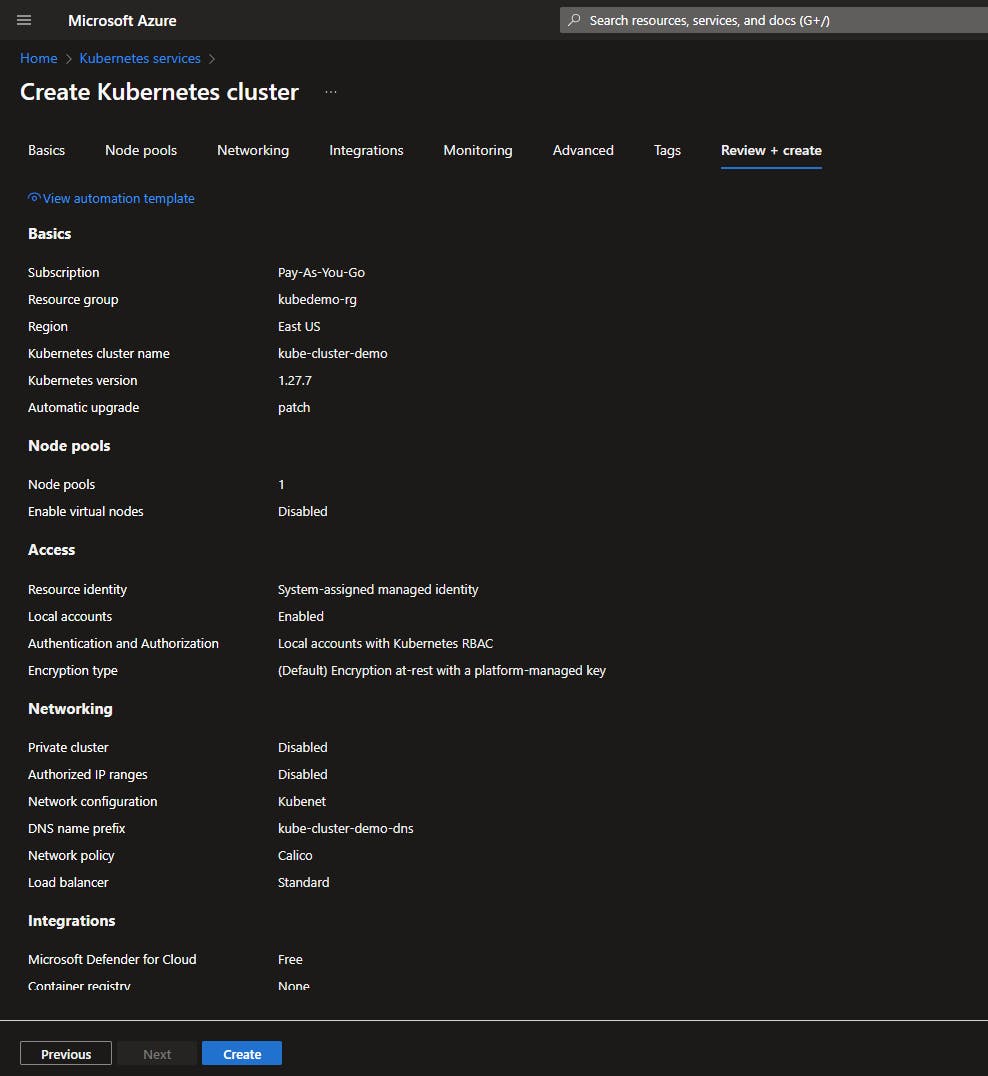
Select Review + create to run validation on the cluster configuration. After validation completes, select Create to create the AKS cluster.
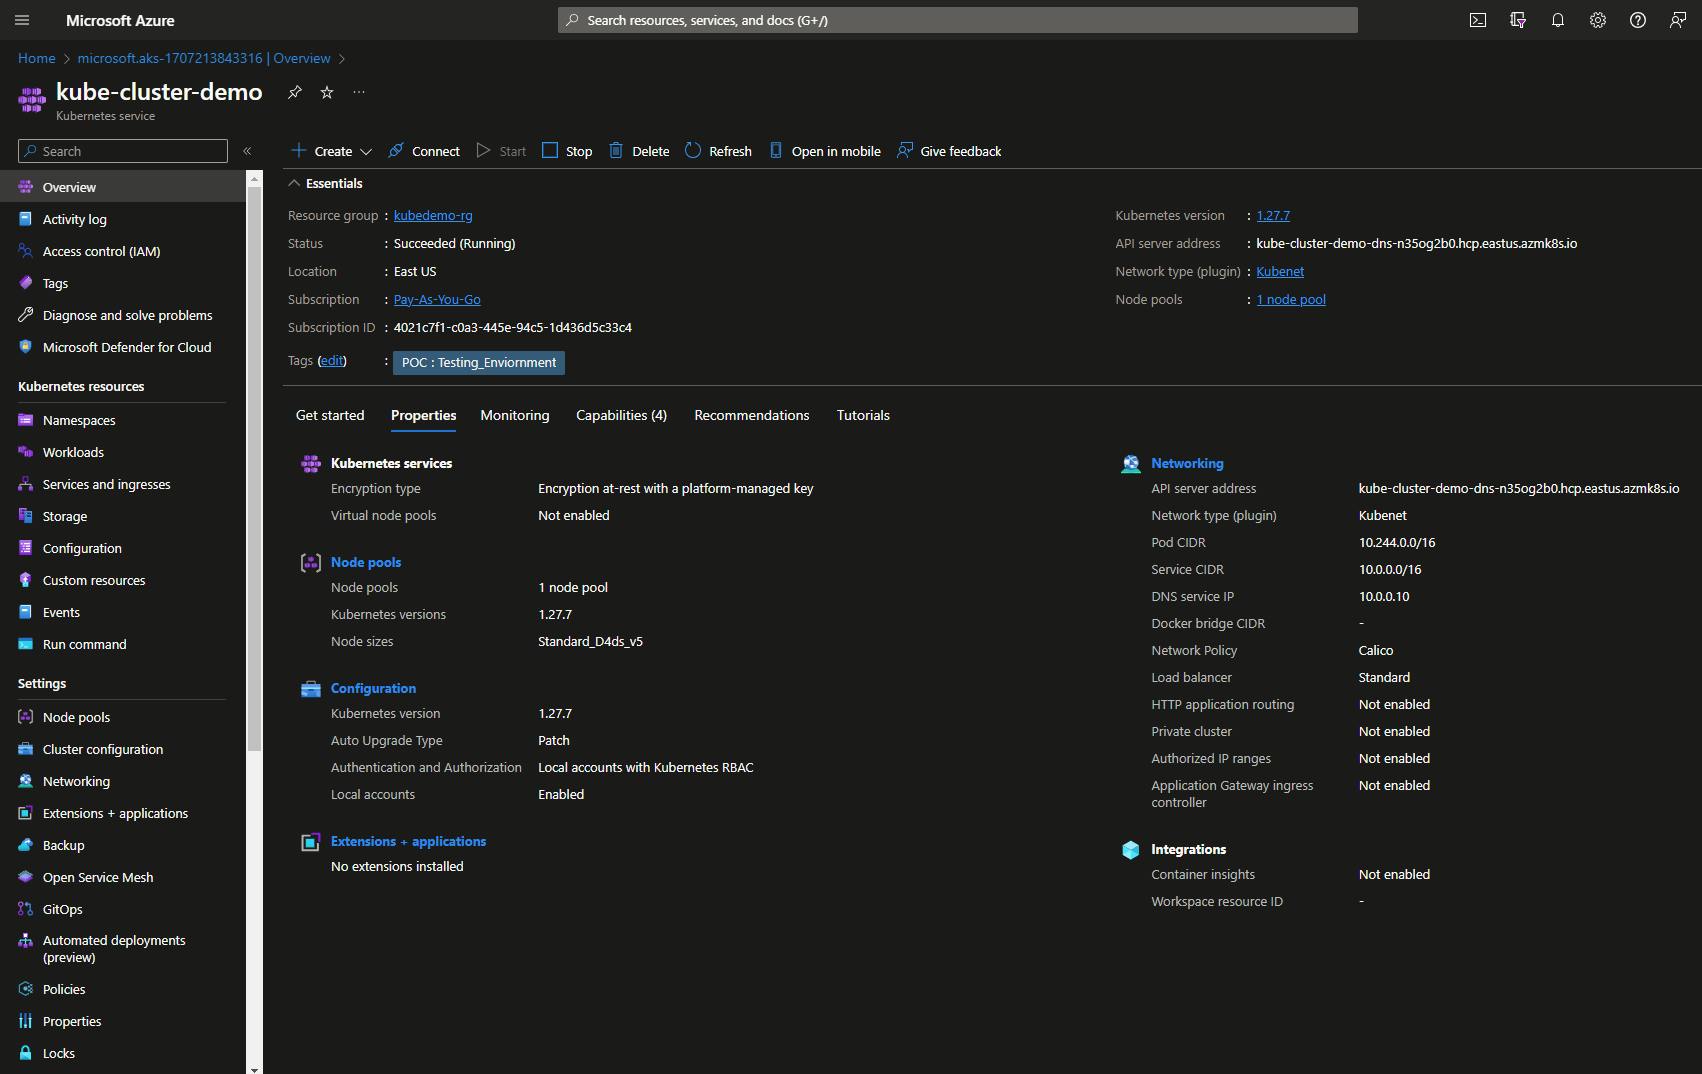
It takes a few minutes to create the AKS cluster. When your deployment is complete, navigate to your resource by either:
Selecting Go to resource, or
Browsing to the AKS cluster resource group and selecting the AKS resource. In this example you browse for kubedemo-rg and select the resource kube-cluster-demo.
Step 2:Connect to the cluster 🔗
To manage a Kubernetes cluster, use the Kubernetes command-line client, kubectl. kubectl is already installed if you use Azure Cloud Shell.
In this demo I already installed Azure CLI in my system and connected to my azure account.
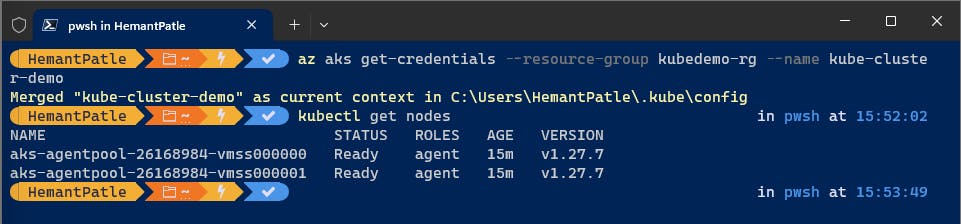
Configure kubectl to connect to your Kubernetes cluster using the az AKS get-credentials command. This command downloads credentials and configures the Kubernetes CLI to use them.
az aks get-credentials --resource-group kubedemo-rg --name kube-cluster-demo

Verify the connection to your cluster using kubectl get to return a list of the cluster nodes.
kubectl get nodes
The following example output shows the single node created in the previous steps. Make sure the node status is Ready.
Step 3:Deploying Your First Application 🚀
Let's deploy a sample app. Imagine this as hosting a party on your Kubernetes cluster:
Once you connect your azure account and cluster lets add example voting application by using Git command as shown snapshot below.
Example Voting Application is a microservice application and it has Python, Redis Database, Postgres Database, NodeJS all objects is interconnected, for more information check git repository.
git clone https://github.com/kodekloudhub/example-voting-app.git


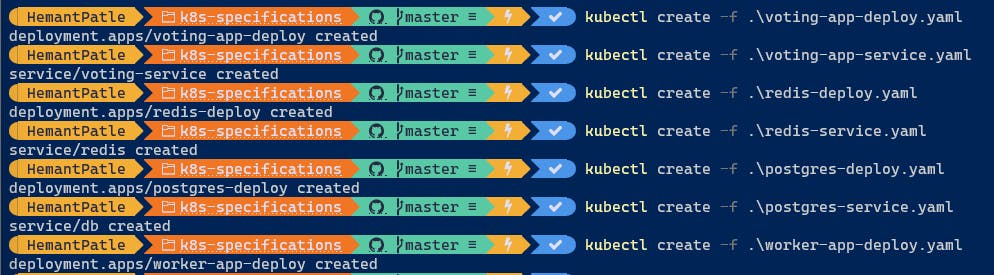
The folder k8s-specifications contains the all yaml specifications of the Voting App's services. (As it is just a beginner's guide I make it simple and straight forward for deployment)
- Get into k8s-specifications directory

Run the following command shown in below to create the deployments and services objects:
kubectl create -f .\voting-app-deploy.yaml
kubectl create -f .\voting-app-service.yaml
kubectl create -f .\redis-deploy.yaml
kubectl create -f .\redis-service.yaml
kubectl create -f .\postgres-deploy.yaml
kubectl create -f .\postgres-service.yaml
kubectl create -f .\worker-app-deploy.yaml
kubectl create -f .\result-app-deploy.yaml
kubectl create -f .\result-app-service.yaml

This command kubectl get deployment,svc will show all deployment, services are created by using above commands which we ran.
This shows our voting application's external Public IP address for vote and result interfaces.
The vote interface is then available on port 80:31817 on each host of the cluster, the result one is available on port 80:32232.
kubectl get deployment,svc

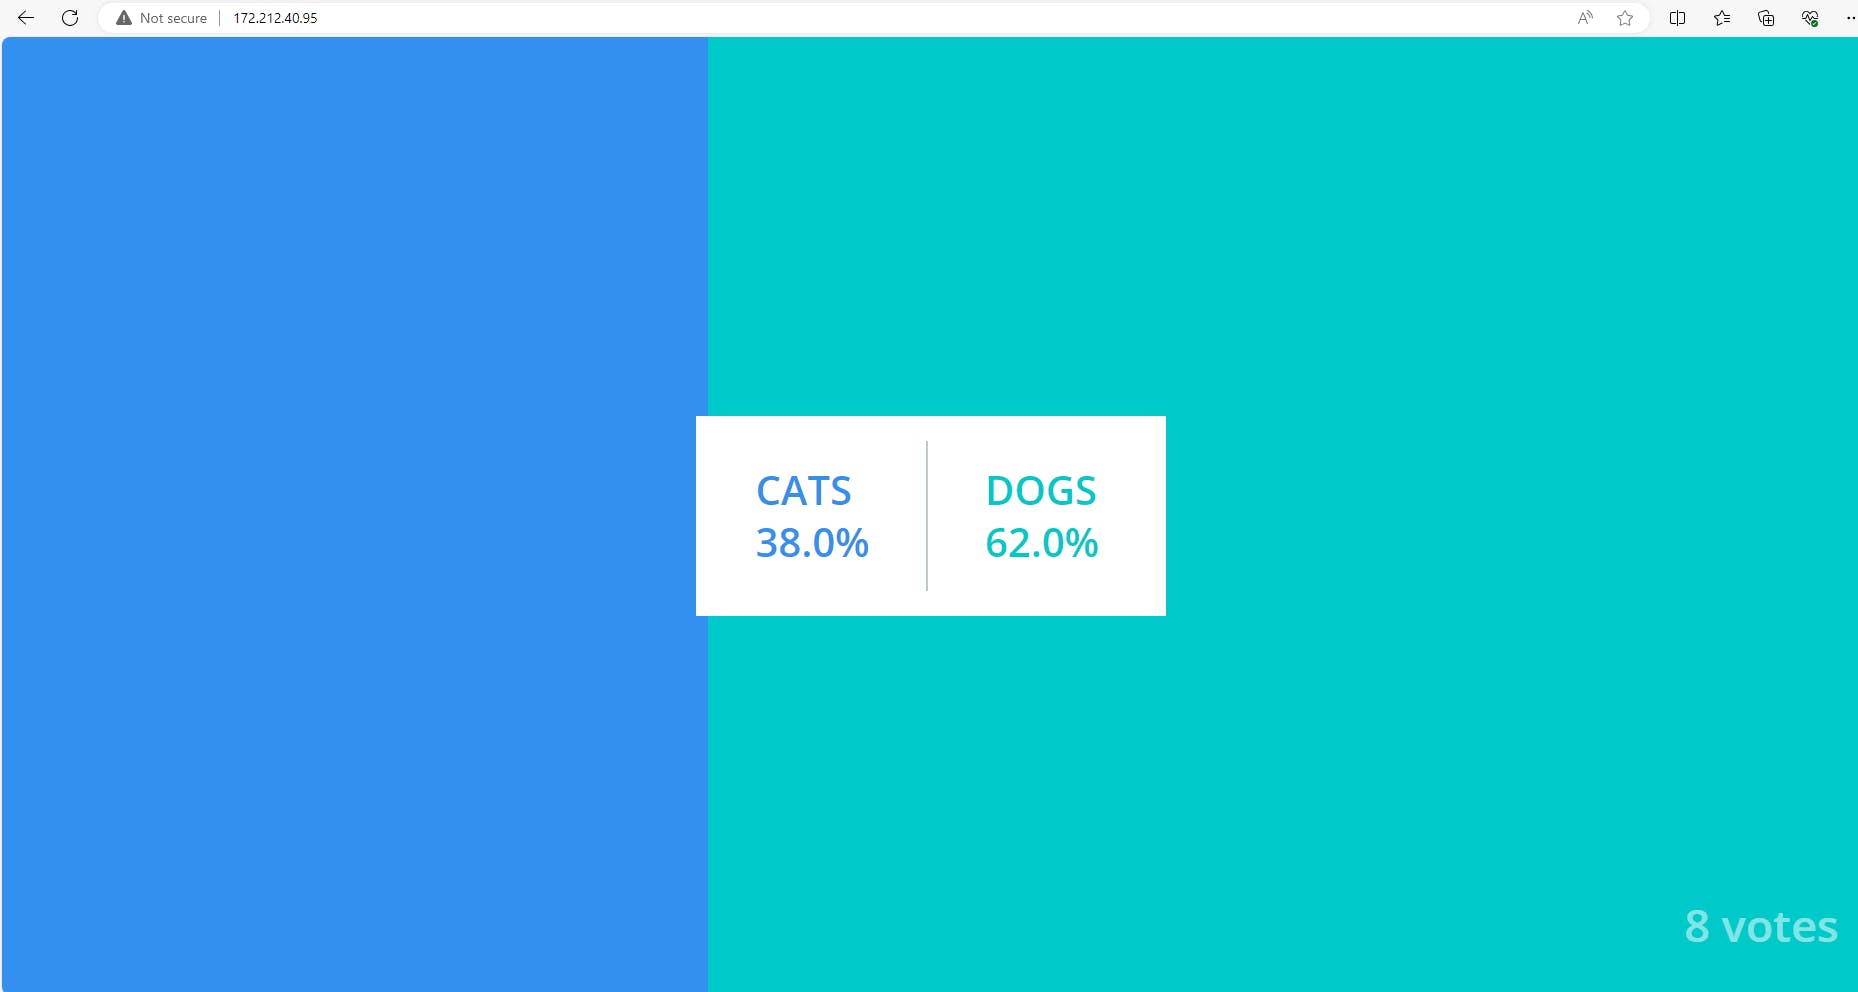
Copy voting external IP 172.212.40.91 and paste it on browser. You got that voting app up and running on AKS Cluster.

Copy result external IP 172.212.40.95 and paste it on browser. You got that result app up and running on AKS Cluster.
Fyi... I share voting url with my friends and they voted that's why below snapshot shows us 8 votes and voting percentages.
Conclusion 🎉
Congratulations! You've successfully set up Kubernetes on Azure. In this blog, we've navigated the Azure portal, created AKS clusters with default values, connected to your cluster, and even hosted a Kubernetes party. Keep exploring, keep deploying, and enjoy the power of Kubernetes on Azure!🌈